> ## Documentation Index
> Fetch the complete documentation index at: https://coolcars.mintlify.site/llms.txt
> Use this file to discover all available pages before exploring further.
# Getting Started
> Step-by-step guide to creating your first vehicle model in CoolCars.
Creating a custom vehicle in CoolCars is a creative process that combines 3D model configuration (via Resource Pack) and fine-tuning physics in configuration files.
## Vehicle Folder Structure
Each car is a separate folder inside `plugins/CoolCars/cars/`. The name of this folder will be the **model identifier (key)**.
For example, if you create a folder named `my_super_car`, the spawn command will be:
`/car spawn my_super_car`
### Required Files
Inside each car folder, there must be four configuration files:
Visuals: models, seats, lights, trunk, and menu.
Physics: speed, acceleration, suspension, and fuel consumption.
Behavior: durability, collisions, landing damage, and combat.
Texts: names and descriptions in different languages.
***
## Quick Start: The Copy Method
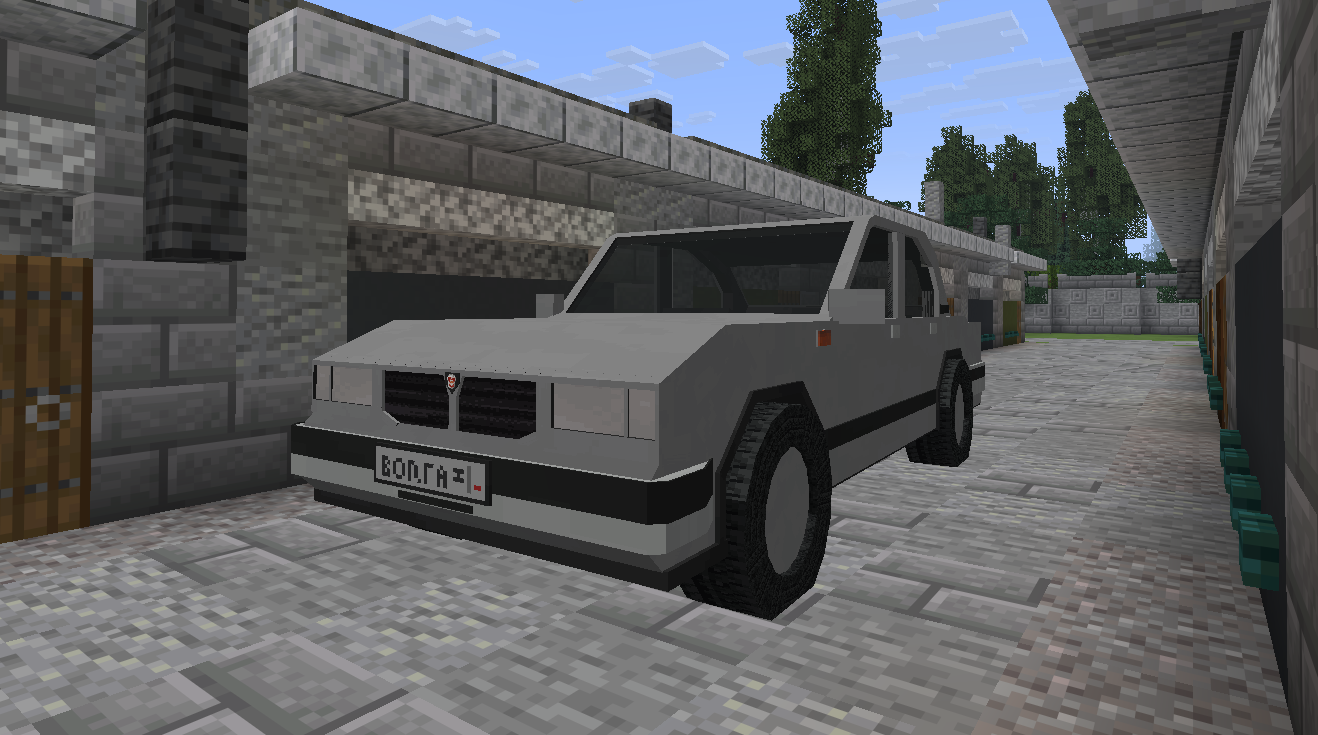
The easiest way to create a new car is to use the existing `Volga` as a template.
1. **Copy** the `plugins/CoolCars/cars/Volga` folder.
2. **Rename** the copy (e.g., to `Lada`).
3. **Change** the `display-name` in `localization.yml`.
4. **Reload** the plugin with `/car reload`.
5. **Spawn** your new car: `/car spawn Lada`.
Even if you haven't set up your Resource Pack yet, the car will appear using default models (e.g., iron ingots), but the physics and functions will already work.
## Visual Setup Process
The configuration process usually looks like this:
1. **Model Setup:** You specify `CustomModelData` for items in `components.yml`.
2. **Offset Adjustment:** You adjust the positions of wheels, steering wheel, and seats to fit your 3D model.
3. **Physics Testing:** You adjust mass and engine power in `performance.yml` to make the car feel right.
 ***
## What's Next?
Now that you understand the general structure, let's move on to the detailed configuration of each file:
Learn how to place wheels and configure the menu.
Make your car fast or heavy.
***
## What's Next?
Now that you understand the general structure, let's move on to the detailed configuration of each file:
Learn how to place wheels and configure the menu.
Make your car fast or heavy.