Vehicle Folder Structure
Each car is a separate folder insideplugins/CoolCars/cars/. The name of this folder will be the model identifier (key).
For example, if you create a folder named my_super_car, the spawn command will be:
/car spawn my_super_car
Required Files
Inside each car folder, there must be four configuration files:components.yml
Visuals: models, seats, lights, trunk, and menu.
performance.yml
Physics: speed, acceleration, suspension, and fuel consumption.
behavior.yml
Behavior: durability, collisions, landing damage, and combat.
localization.yml
Texts: names and descriptions in different languages.
Quick Start: The Copy Method
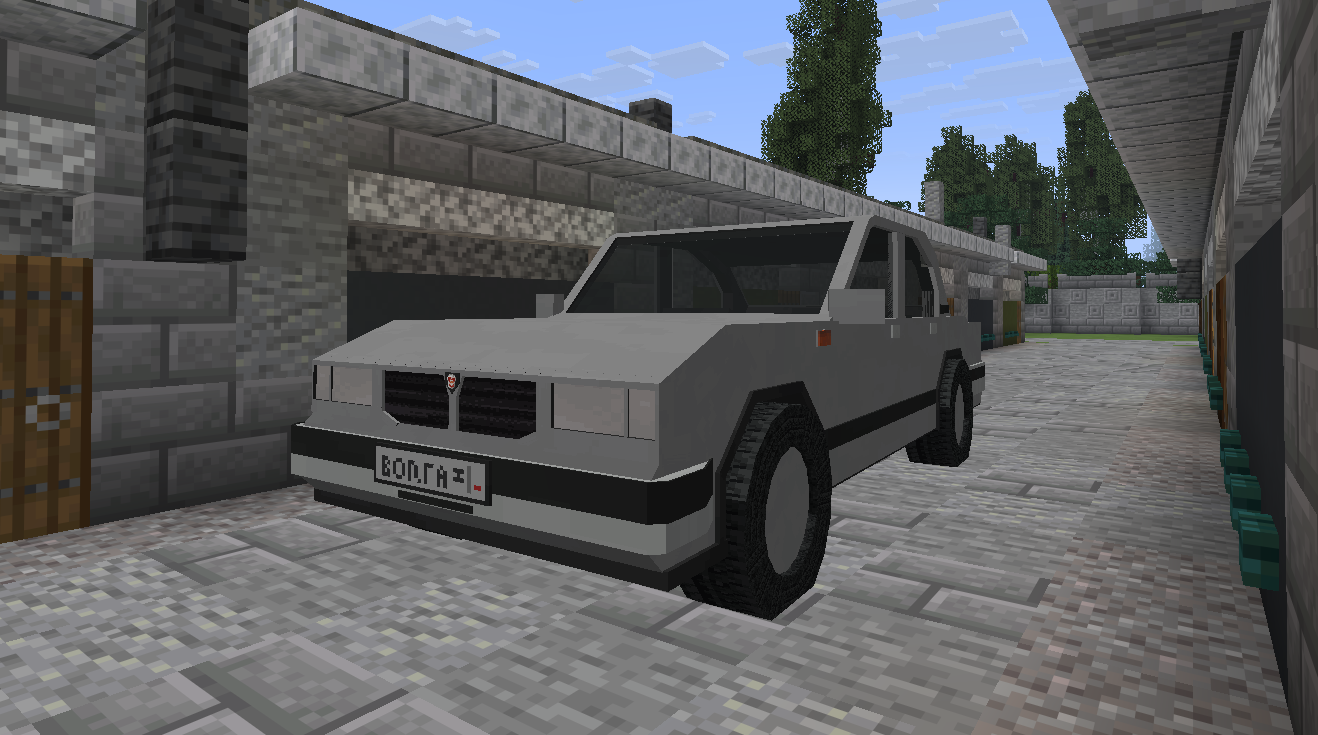
The easiest way to create a new car is to use the existingVolga as a template.
- Copy the
plugins/CoolCars/cars/Volgafolder. - Rename the copy (e.g., to
Lada). - Change the
display-nameinlocalization.yml. - Reload the plugin with
/car reload. - Spawn your new car:
/car spawn Lada.
Even if you haven’t set up your Resource Pack yet, the car will appear using default models (e.g., iron ingots), but the physics and functions will already work.
Visual Setup Process
The configuration process usually looks like this:- Model Setup: You specify
CustomModelDatafor items incomponents.yml. - Offset Adjustment: You adjust the positions of wheels, steering wheel, and seats to fit your 3D model.
- Physics Testing: You adjust mass and engine power in
performance.ymlto make the car feel right.
Example of real-time offset adjustment process
What’s Next?
Now that you understand the general structure, let’s move on to the detailed configuration of each file:Component Setup
Learn how to place wheels and configure the menu.
Physics Setup
Make your car fast or heavy.